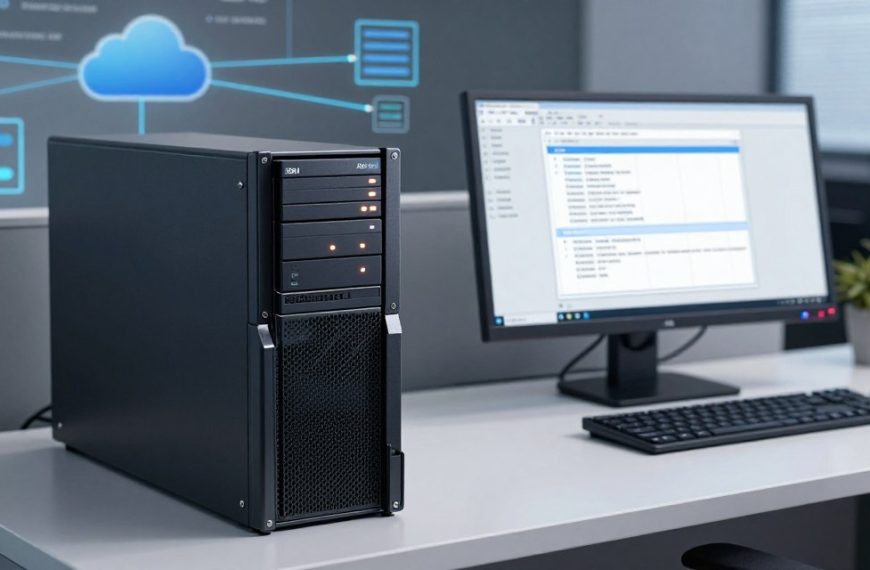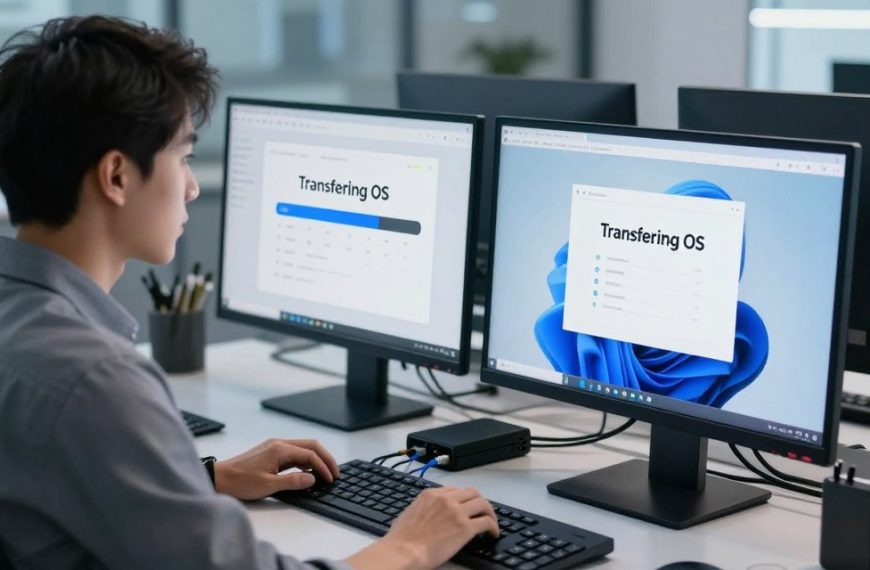

Learning how to change a computer operating system can improve performance and security. This OS migration guide helps professionals in the United States plan an operating system replacement. It covers upgrades from an older version of Windows to Windows 11, switches to macOS, and Linux options.
Changing an OS requires more than a simple update. Those who change computer OS software must plan for hardware compatibility, data security, and daily tasks. This guide covers preparation, backup, compatibility checks, OS selection, installation, and post-install configuration.
Following these steps can reduce common challenges, including data loss and driver conflicts. A methodical approach makes the transition smooth and risk-free, so you can enjoy your new system without headaches.
Key Takeaways
- Replacing an OS requires careful planning and execution.
- Understanding hardware compatibility is essential for a smooth transition.
- Backup your data to prevent loss during the migration process.
- Choosing the right OS can enhance your computer’s performance.
- Post-install configuration is crucial for optimal functionality.
- Common issues like driver conflicts can be avoided with proper preparation.
Understanding Operating Systems and Why You Might Need to Change
An operating system coordinates how software works with computer hardware. It manages system resources, file systems, and user interfaces. Popular examples include Windows 11, macOS Sonoma, and Ubuntu 24.04 LTS; this operating system definition helps people consider changes.
What Is an Operating System?
An operating system (OS) connects computer hardware with applications. It lets users manage files, run applications, and control hardware components. The OS manages memory and processing tasks, so applications can work smoothly.
Common Reasons Professionals Switch Operating Systems
Professionals have several reasons to switch OS, including support, security, compatibility, performance, and cost:
- End-of-life support: Older OS versions may no longer receive updates, making them vulnerable to security risks.
- Enhanced security features: Newer operating systems often include improved security measures to protect sensitive data.
- Software compatibility: Some applications may only run on specific operating systems, necessitating a switch.
- Performance improvements: Upgrading to a newer OS can enhance overall system performance and efficiency.
- Cost considerations: Some operating systems, like Linux, are free, making them appealing for budget-conscious users.
Risks and Key Considerations Before Making the Switch
While changing your operating system can offer many benefits, it is essential to consider the potential risks:
- Data loss: If not backed up properly, data may be lost during the transition.
- Hardware incompatibility: New operating systems may not support older hardware, leading to functionality issues.
- Application downtime: Some applications may not work on the new OS, causing disruptions in workflow.
- Learning curve: Adapting to a new interface can take time, impacting productivity initially.
Before changing an OS, plan carefully and back up your data. Review your reasons and the risks of changing OS; these OS change considerations support an informed decision.
| Reason for Switching | Benefits | Risks |
|---|---|---|
| End-of-life support | Access to updates and security patches | Increased vulnerability |
| Enhanced security features | Better protection for data | Potential compatibility issues |
| Software compatibility | Ability to use specific applications | Downtime during transition |
Preparing for the Change: Backing Up Your Data Safely
A backup before OS change protects your files and settings. These steps can give you peace of mind during the move to a new OS. Use the methods below to back up your data safely.
Creating a Full System Image Backup
A full system image backup copies your computer’s operating system, apps, settings, and personal files. It lets you restore the original system if the OS installation fails.
Use Windows Backup and Restore or third-party software to create a system image backup. Follow these steps:
- Connect an external hard drive with sufficient space.
- Open the backup tool and select the option to create a system image.
- Choose the external drive as the destination and start the backup process.
Saving Files to External Storage Devices
For added safety, save important files on USB drives or external SSDs. An external hard drive backup also gives you portable access after the OS change.
Format external drives correctly to prevent compatibility issues. Organize files in folders for easier retrieval. Use this quick guide:
- Format the drive to NTFS or exFAT for compatibility.
- Create folders for different file types (documents, photos, etc.).
- Regularly update the files stored on the drive.
Using Cloud Backup Services for Critical Documents
Microsoft OneDrive, Google Drive, and Dropbox offer cloud backup for documents. They store copies away from your computer and provide access from any device.
To use cloud services effectively:
- Sign up for a cloud service and install the application on your device.
- Upload important documents and files regularly.
- Ensure that your cloud storage has sufficient space for all your important data.
Verifying the Integrity of Your Backup
After creating backups, verify backup integrity to ensure the files are complete and restorable. Use these tips:
- Check the file count and sizes against your original files.
- Perform a sample restore of a few files to ensure they are accessible.
- Use checksum verification tools to confirm the integrity of the backup files.
Skipping backups can cause serious loss, as shown by a professional who lost years of work without one. Proper backups can help ensure a smooth move to your new operating system.
| Backup Method | Advantages | Considerations |
|---|---|---|
| Full System Image Backup | Complete restoration capability | Requires significant storage space |
| External Storage Devices | Portable and easy access | Physical damage risk |
| Cloud Backup Services | Off-site redundancy and accessibility | Requires internet connection |
Verifying System Compatibility and Hardware Requirements
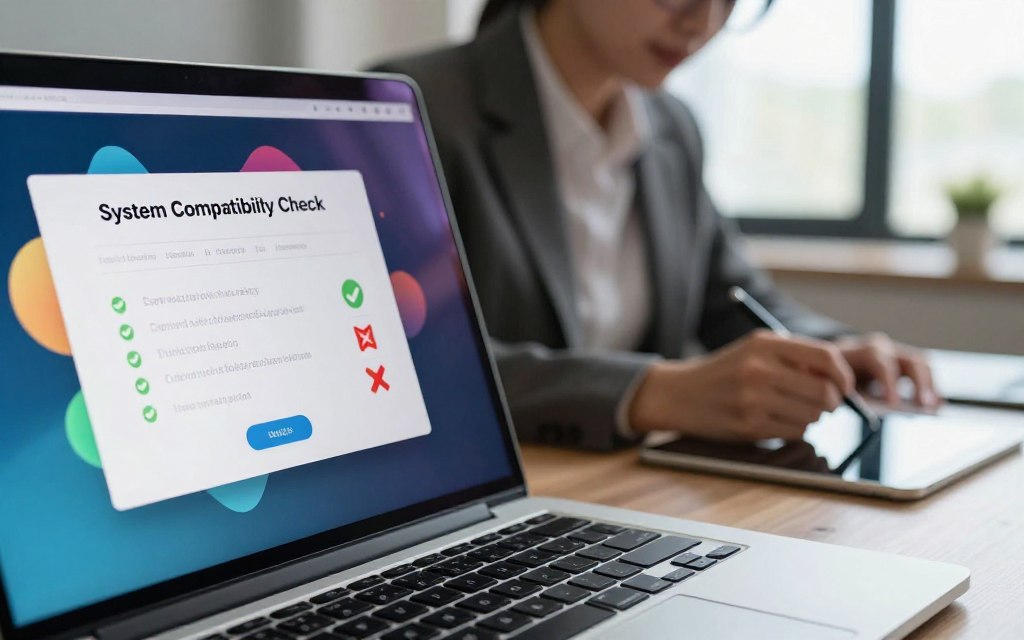
A system compatibility check helps you move to a new operating system smoothly. It can prevent installation failures and problems after installation. First, verify your hardware specifications before upgrading.
Checking Processor, RAM, and Storage Specifications
Start by checking your processor architecture, RAM, and available storage. For Windows 11, review these minimum hardware requirements for OS installation:
- 1 GHz or faster processor with at least 2 cores on a compatible 64-bit processor or system on a chip (SoC).
- 4 GB of RAM or more.
- 64 GB of storage or larger.
For macOS, visit Apple’s official website for requirements based on your model. Linux distributions like Ubuntu generally require:
- 2 GHz dual-core processor.
- 2 GB of RAM for a basic installation.
- 25 GB of free hard drive space.
Use built-in tools, such as Windows System Information or Linux’s lshw command, to collect this information.
Confirming Driver Availability for Your Hardware
Driver availability is also critical. Older hardware, including printers and graphics cards, may lack drivers for the new OS. Before switching, check these sources:
- Manufacturer websites for updated drivers.
- Community forums for user experiences and solutions.
This check helps ensure that all your devices work correctly after installation.
Reviewing Software Compatibility With the New OS
Finally, assess the software compatibility of essential applications. Check whether key business tools, such as Adobe Creative Cloud or Microsoft Office, offer native versions for the new OS. If they do not, consider these alternatives:
- Using Wine to run Windows applications on Linux.
- Setting up a virtual machine for running incompatible software.
These steps can help you choose an operating system that fits your professional needs.
Selecting the Right Operating System for Your Needs
Choosing the right operating system can improve your productivity and user experience. Since each option differs, learning these differences helps you make a better choice. This guide compares Windows 11, macOS, and Linux Ubuntu.
Comparing Windows 11, macOS, and Linux Ubuntu
When considering Windows 11 vs macOS vs Ubuntu, compare these key factors:
- User Interface: Windows 11 offers a familiar interface for most users, while macOS is known for its sleek design and intuitive navigation. Ubuntu, on the other hand, provides a customizable interface that appeals to tech-savvy users.
- Hardware Ecosystem: Windows 11 supports a wide range of hardware, making it a versatile choice. macOS is optimized for Apple devices, ensuring seamless integration. Ubuntu is compatible with various hardware but may require additional configuration.
- Software Availability: Windows 11 boasts extensive software support, especially for business applications. macOS excels in creative software, ideal for graphic designers. Ubuntu is favored by developers due to its native Linux toolchains.
- Security Model: Windows 11 has improved security features, but its popularity makes it a target for malware. macOS is generally considered more secure, while Ubuntu’s open-source nature allows for transparency and community-driven security.
- Performance: Windows 11 is designed for performance on modern hardware, macOS optimizes for Apple hardware, and Ubuntu is lightweight, making it suitable for older machines.
Matching an Operating System to Your Professional Use Case
Your work needs should guide your professional OS selection. For example:
- Software Developers: Ubuntu is often preferred due to its robust support for development tools and programming languages.
- Graphic Designers: macOS is the go-to choice, thanks to its superior color management and industry-standard creative applications.
- Business Users: Those in Microsoft-centric environments will find Windows 11 most compatible with their workflow.
Licensing, Cost, and Long-Term Support Considerations
Understanding OS licensing cost and long-term OS support is crucial:
- Windows 11: Requires a license fee, which can be a significant upfront cost.
- macOS: Free with Apple hardware, but you cannot use it on non-Apple devices.
- Ubuntu: Completely free and open-source, with optional paid support available from Canonical.
For long-term OS support, Windows 11 follows a lifecycle policy with updates for a specified period. macOS offers annual upgrades, while Ubuntu LTS releases provide five years of security updates, making Ubuntu reliable for long-term use.
How to Change a Computer Operating System: The Step-by-Step Process
Changing your computer’s operating system may seem daunting, but clear steps make it easier. Each step supports a smooth move to your new OS; here are five essential steps:
Step 1: Create Bootable Installation Media
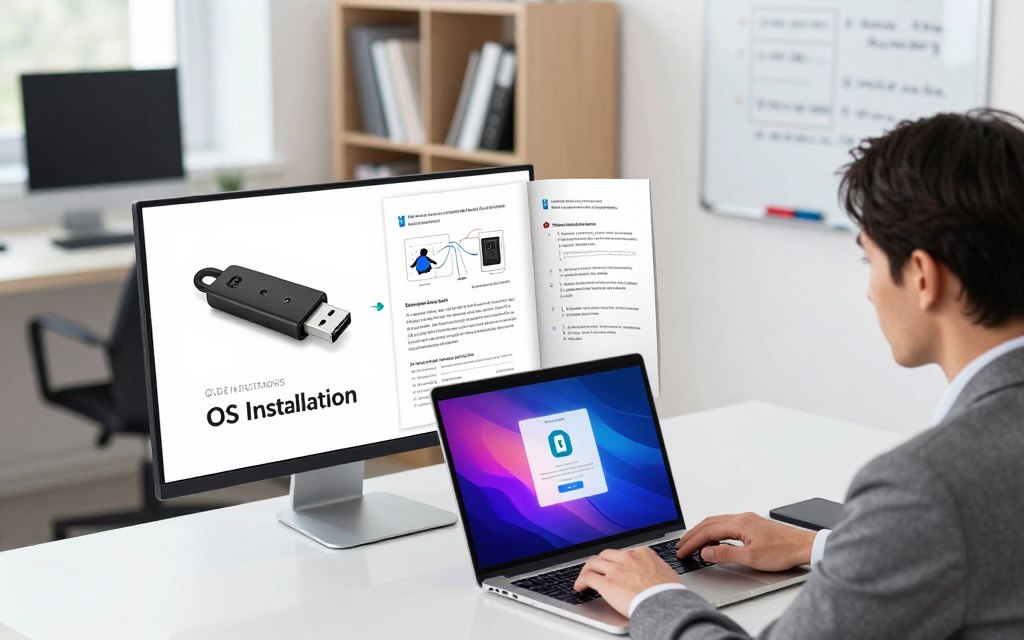
First, create a bootable USB drive. Use Rufus for Windows ISOs, balenaEtcher for Linux ISOs, or the built-in dd command on macOS and Linux. Use a USB drive with at least 8 GB, and check the ISO file’s checksum for corruption.
Step 2: Configure BIOS or UEFI Boot Settings
Open your BIOS UEFI boot settings by pressing F2, F10, Del, or Esc during startup. Prioritize the USB drive in the boot order, and disable Secure Boot for Linux compatibility.
Step 3: Boot From the Installation Media
Restart your computer and boot from the installation media. Select your language and keyboard layout when prompted. Follow the on-screen instructions to continue.
Step 4: Partition or Format Your Hard Drive
Be cautious when you partition hard drive space or format the drive; this erases target-drive data. For a clean OS installation, delete existing partitions. Back up your data before continuing.
Step 5: Install the New Operating System
Follow the prompts to install your new operating system. The process varies by OS: select the installation type, choose the target drive, and create a user account. Then wait for the files to copy; your new operating system will be ready to use.
Installing Microsoft Windows 10 or 11
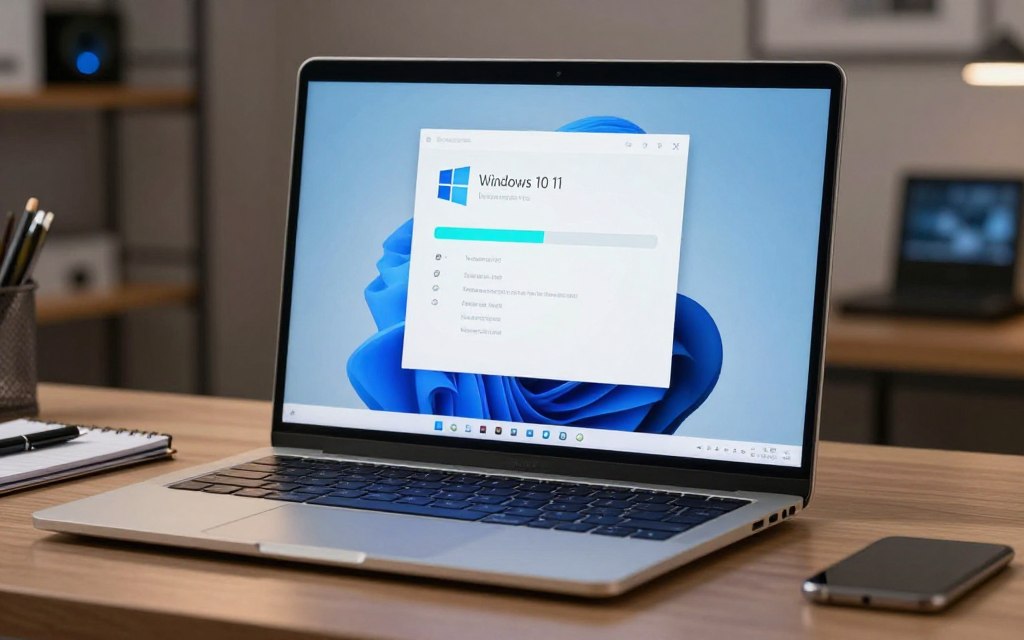
Ready to upgrade to Microsoft Windows 10 or 11? This guide explains installation and activation steps.
Downloading the Official Windows Media Creation Tool
First, download the Windows Media Creation Tool from Microsoft. It creates a bootable USB drive or an ISO file.
- Visit the official Microsoft website.
- Locate the section for the Media Creation Tool and click on the download link.
- Once downloaded, run the tool and follow the prompts to create your installation media.
Important: Avoid unofficial Windows ISOs because they may contain malware or other security risks.
Running the Windows Installation Wizard
Next, run the Windows installation wizard from your installation media.
- Insert the bootable USB drive into your computer and restart it.
- Access the boot menu (usually by pressing F12, Esc, or Del) and select the USB drive.
- Once the installation wizard starts, choose your language and click Next.
- Select Install Now and choose the edition of Windows you want (Home or Pro).
- Accept the license terms and select Custom: Install Windows only (advanced) for a clean installation.
- On the “Where do you want to install Windows?” screen, delete old partitions if necessary and create a new one for the installation.
Activating Windows With a Valid Product Key
After installation, you must activate Windows with a valid product key. This guide also explains how to activate Windows product key settings.
- During installation, you will be prompted to enter your product key. You can do this at that time or skip it and activate later.
- To activate later, go to Settings > Update & Security > Activation and enter your key.
- Windows may also offer activation through a digital license linked to your Microsoft account, which simplifies the process.
For a Windows 11 clean install, follow the same activation steps. If activation fails, visit the Microsoft support website for troubleshooting tips.
Installing Apple macOS
Before installing macOS, prepare your Mac carefully. A clean macOS installation refreshes your system and gives you a fresh start.
Preparing for a Clean macOS Installation
Back up all important data before you begin. A clean install erases your startup disk, so the backup from the previous section is essential. Prepare by completing these steps:
- Sign out of iCloud to prevent any issues with your Apple ID.
- Deauthorize iTunes on your Mac to free up your device count.
- Connect your Mac to a stable power source and a reliable internet connection.
Using macOS Recovery Mode for Reinstallation
To reinstall macOS, use macOS Recovery Mode. Restart your Mac and hold down the Command + R keys during startup. The Recovery interface lets you erase the startup disk or start installation.
- Open Disk Utility to erase your startup disk.
- Select the Reinstall macOS option to begin the installation process.
Reinstalling macOS via Internet Recovery
If your local recovery partition is missing or corrupted, use Internet Recovery macOS. Restart your Mac and hold down Option + Command + R or Shift + Option + Command + R. Your Mac will download the latest compatible version of macOS from Apple’s servers.
| Step | Action | Notes |
|---|---|---|
| 1 | Sign out of iCloud | Prevent issues with your Apple ID |
| 2 | Deauthorize iTunes | Free up your device count |
| 3 | Boot into Recovery Mode | Use Command + R |
| 4 | Erase Startup Disk | Use Disk Utility |
| 5 | Reinstall macOS | Follow on-screen instructions |
For more detailed guidance on macOS Recovery, visit Apple’s official support page.
Installing Linux Ubuntu
Exploring Linux starts with a simple, rewarding Ubuntu installation. This Linux installation guide covers an Ubuntu bootable USB, the Ubuntu installer, and dual-boot Windows Ubuntu setup. It helps beginners and experienced users follow each step with confidence.
Creating a Bootable Ubuntu USB Drive
First, download the official Ubuntu ISO from ubuntu.com. Then, create an Ubuntu bootable USB drive with one of these tools:
- balenaEtcher on Windows or macOS
- Startup Disk Creator on an existing Linux system
Before continuing, check your ISO file’s integrity. Compare it with the SHA256 checksum on the download page to confirm the file is complete and uncorrupted.
Running the Ubuntu Installer Step by Step
After preparing your bootable USB drive, insert it and restart your computer. The Ubuntu installer will appear with a graphical interface called Ubiquity. Follow these steps:
- Select your preferred language.
- Connect to a Wi-Fi network if prompted.
- Choose your installation type: normal or minimal.
- Set up disk partitioning. For a clean install, select “Erase disk and install Ubuntu.” Note that this option will delete all existing data on the drive.
Configuring a Dual-Boot Setup With Windows
To keep Windows alongside Ubuntu, choose a dual-boot Windows Ubuntu setup. This lets you select an operating system when your computer starts. Follow these steps:
- During the installation, select “Something else” for partitioning.
- Create separate partitions for root, home, and swap:
- Install the GRUB bootloader to manage your boot menu.
| Partition | Size (GB) | Type |
|---|---|---|
| Root | 20 | Ext4 |
| Home | 50 | Ext4 |
| Swap | 8 | Swap |
After completing these steps, you can enjoy Windows and Ubuntu on the same machine.
Configuring Your New Operating System After Installation
After you install your new operating system, configure it for your needs. This process helps your system run smoothly and safely. Use these steps to finish the setup.
Installing Critical Drivers and System Updates
First, install post-install driver updates. These drivers help your hardware work correctly. Your operating system offers these options:
- Windows: Use Windows Update to automatically find and install the necessary drivers.
- macOS: Utilize the Software Update feature to download the latest drivers.
- Linux (Ubuntu): Access the Additional Drivers tool to install missing drivers.
On Windows, check Device Manager for missing drivers. On Linux, use the commands lspci and lsusb.
Restoring Your Data From the Backup
Next, restore data from backup. This returns important files to their correct places. Follow these steps:
- Connect your external storage device or access your cloud backup service.
- Copy the files back to their respective folders on your new operating system.
- Verify that all necessary files have been restored and are accessible.
Installing Essential Applications and Productivity Tools
After setup, install essential productivity apps. Choose from these recommendations for your operating system:
| Operating System | Essential Apps |
|---|---|
| Windows | Microsoft 365, Google Chrome |
| macOS | Pages, Safari |
| Linux (Ubuntu) | LibreOffice, Firefox |
You can also use cross-platform tools like Slack, Zoom, and VS Code. These tools can improve productivity across different devices.
Optimizing System Performance and Security Settings
Finally, use these settings to optimize system performance security:
- Enable automatic updates to keep your system secure.
- Configure your firewall settings to protect against unauthorized access.
- Set up full-disk encryption (e.g., BitLocker for Windows, FileVault for macOS, and LUKS for Ubuntu).
- Create a standard user account for daily work to enhance security.
Follow these steps to make your new operating system functional, secure, and suited to your needs.
Conclusion
A new operating system may seem daunting, but preparation makes the task manageable. Learning to change operating system safely supports a successful OS transition. This OS migration checklist helps prevent data loss and driver issues.
Begin by backing up your data thoroughly and checking system compatibility. These steps create a smooth foundation for installation. Check software compatibility so everything works correctly after the switch.
After installation, explore your new operating system’s features. Customize your setup to improve productivity. Keep backups accessible until you trust the new system’s performance, so you can address unexpected issues calmly.
This guide prepares you to manage your computer’s needs with confidence. Embrace the possibilities of your updated operating system and enjoy a more efficient computing experience.

 By
By