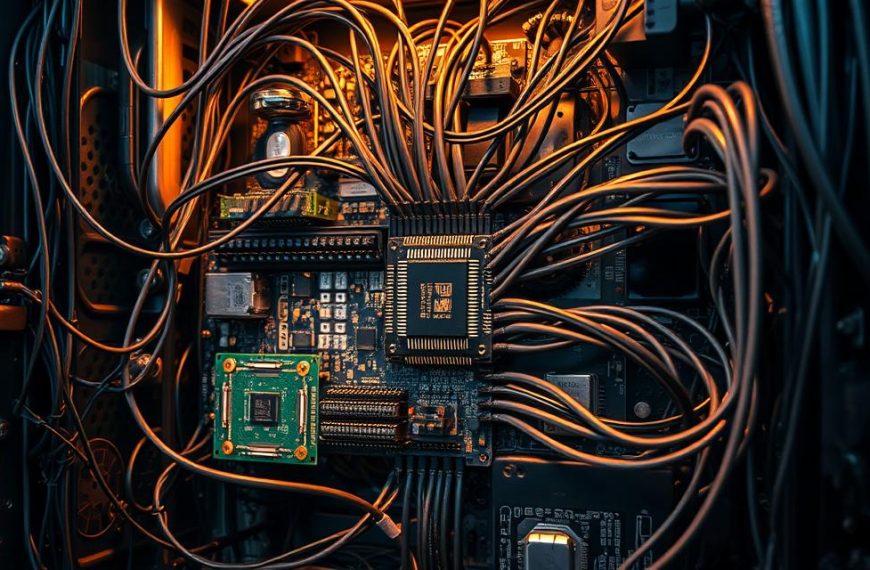
When you press the power button, a key process starts before your computer boots up. This process uses motherboard firmware called the Basic Input/Output System.
First introduced in 1975, the BIOS functions check and set up your hardware. It makes sure all parts work right and gets your computer ready to use.
This firmware acts as a link between your operating system and devices. It’s key in the computer boot process.
Even though newer systems use UEFI, the basic ideas of BIOS are the same. Knowing how BIOS works helps fix startup problems.
What are the Functions of BIOS in a Computer System?
BIOS acts as a bridge between a computer’s hardware and its operating system. It performs key tasks during startup. These tasks ensure the system works right and can be customised by the user.
Understanding BIOS’s functions shows how computers start up. They go from being off to fully working systems.
Power-On Self-Test (POST) and Hardware Initialisation
The POST test is a key job of BIOS at startup. It checks important parts like RAM, processors, and keyboards. If something fails, BIOS tells you with beeps or error messages.
Getting all hardware to work right is called initialisation. It checks memory, storage, and connections. Only when everything checks out does the system start up.
Bootstrap Loader and Operating System Handoff
The bootstrap loader looks for an operating system on storage devices. BIOS checks devices in a set order until it finds one. This makes sure the system starts up reliably.
When it finds an operating system, the loader hands it over. This is when the system starts to run under the OS’s control. The loader also starts up drivers for basic hardware use.
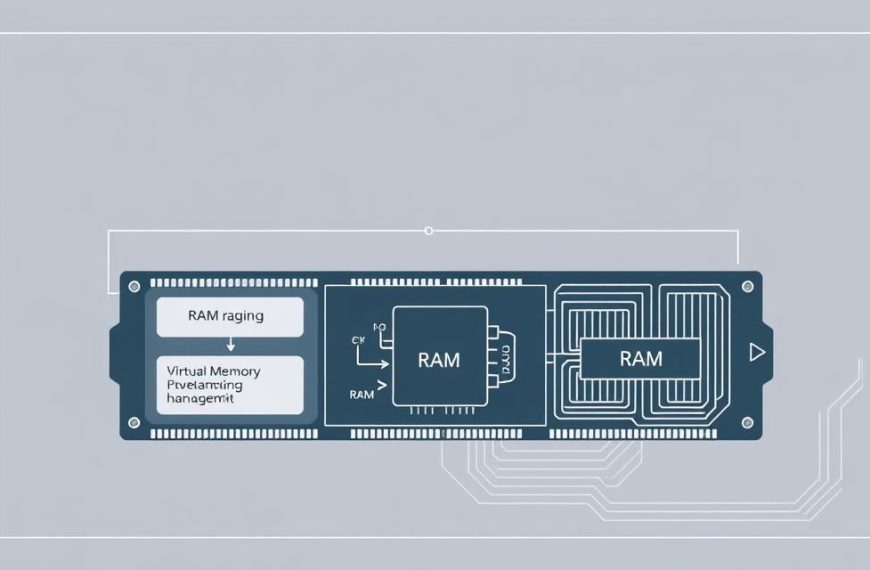
CMOS Setup and Configuration Storage
CMOS lets users change system settings through the BIOS Setup Utility. It keeps these settings even when the power is off. This is thanks to special technology that uses very little power.
Users can get to these settings by pressing certain keys at startup. The interface is easy to use, even for beginners. It lets you change settings, security, and performance.
Our guide on what BIOS is goes into more detail. CMOS is special because it keeps settings even without power. This makes it different from other types of memory.
The BIOS Booting Process: From Power-On to OS Load
When you press the power button, a series of events starts. This boot process turns your machine into a working system.

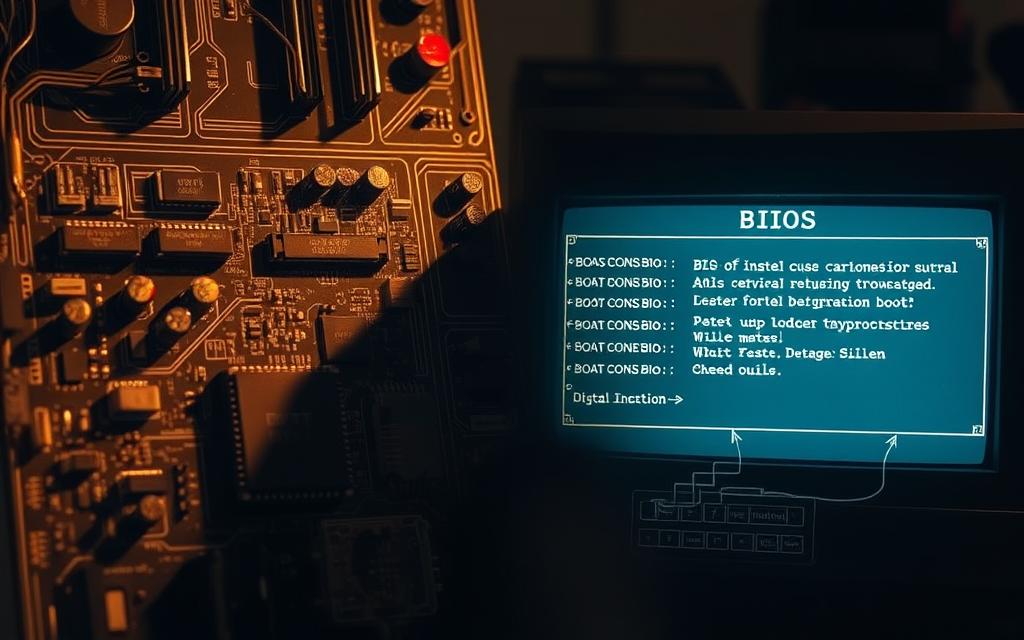
Step 1: POST Execution and Error Handling
The Power-On Self-Test is the first step. BIOS checks the hardware, like the processor and memory. It makes sure everything works before moving on.
Common POST Beep Codes and Their Meanings
POST beep codes tell you about errors. They help you find problems quickly:
- One short beep: DRAM refresh failure
- Two short beeps: Parity circuit failure
- Three short beeps: Base 64K RAM failure
- Continuous beeps: Power supply or motherboard issue
Knowing these codes can save a lot of time. Manufacturers have detailed lists for each BIOS version.
Step 2: Hardware Detection and Initialisation
After POST, BIOS finds all peripherals and cards. It checks:
- Storage controllers (SATA, NVMe, IDE)
- USB controllers and devices
- Network interface cards
- Audio controllers and multimedia devices
Each part gets the resources it needs. They are set up to work well together.
Step 3: Boot Device Selection and Loader Activation
BIOS looks for devices with operating system files. It checks each device in order to find a valid boot sector.
Boot Order Configuration in BIOS Setup
You can change the boot device selection order in BIOS setup. You can choose:
- Hard drive boot priority
- USB device boot enable/disable
- Network boot (PXE) options
- Optical drive boot sequence
This lets you set up recovery environments and install new systems.
Step 4: Transferring Control to the Operating System
The last step is the OS handoff. BIOS finds a valid boot device and loads the boot sector into memory.
This is when BIOS hands over to the operating system. The OS then starts its own boot process and shows the user interface.
The whole boot process is quick. It shows how well BIOS and hardware work together.
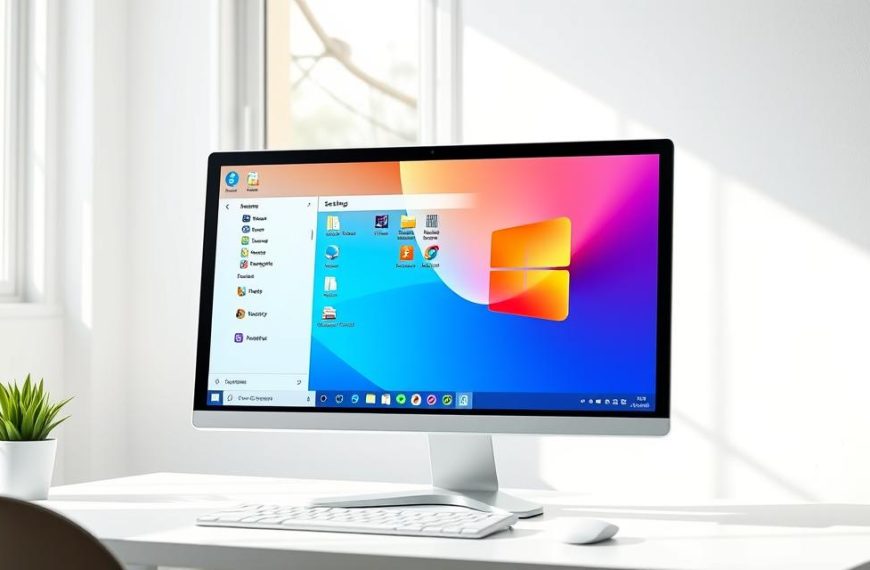
Navigating the BIOS Setup Utility: Key Settings and Options
To get into your computer’s BIOS setup utility, you need to press certain keys when it starts up. These keys can be different for each brand. You can find out the exact keys to press on specific BIOS access keys for various brands. This interface is where you can change your computer’s settings before it starts up.
Main Configuration Settings: System Time and Date
The main settings section is usually the first thing you see in most BIOS interfaces. Here, you can set the system time and date. These settings are kept by a CMOS battery when your computer is turned off. They are important for things like file timestamps and system logging.
Other main settings include basic hardware details like the processor type, memory, and storage devices. These settings are mostly for information, but they give you a quick overview of your system before you get into more detailed settings.
Boot Options: Prioritising Devices and Boot Modes
Boot options are a key area in the BIOS that you might change a lot. This section decides the order in which your system looks for operating systems to boot from. You can choose to boot from USB drives, CDs, hard drives, or network sources.
Modern systems have two main boot modes: Legacy BIOS (also called CSM) and UEFI. UEFI is more secure and boots faster, but Legacy mode works with older operating systems. Choosing the right mode can affect how well your system works and what it can run.
Security Features: Passwords and Secure Boot
BIOS security settings protect your system at the hardware level. You can set supervisor passwords to limit access to the BIOS utility, or user passwords to stop the system from booting without a password. These settings help keep your system safe from unauthorised access.
Secure Boot is a key security feature in UEFI systems. It stops unsigned operating systems or malware from booting. It checks the digital signatures of boot components, making sure only trusted software starts your hardware. This greatly reduces the risk of malware and unauthorised system changes.
Advanced Settings: Overclocking and Power Management
For those who want to push their system’s performance, the advanced settings section has overclocking settings. These let you manually adjust processor frequencies, voltages, and memory timings. But, you need to be careful to avoid damaging your hardware.
Power management options control how your system uses energy and manages heat. Settings like CPU C-states, fan control profiles, and wake-on-LAN help balance performance with power efficiency. Properly setting these options can save energy and make your system last longer while keeping it responsive.
Remember to document any changes you make in the BIOS setup utility. Making the wrong changes can affect your system’s stability. Most modern BIOS versions have fail-safe options to go back to default settings if needed.
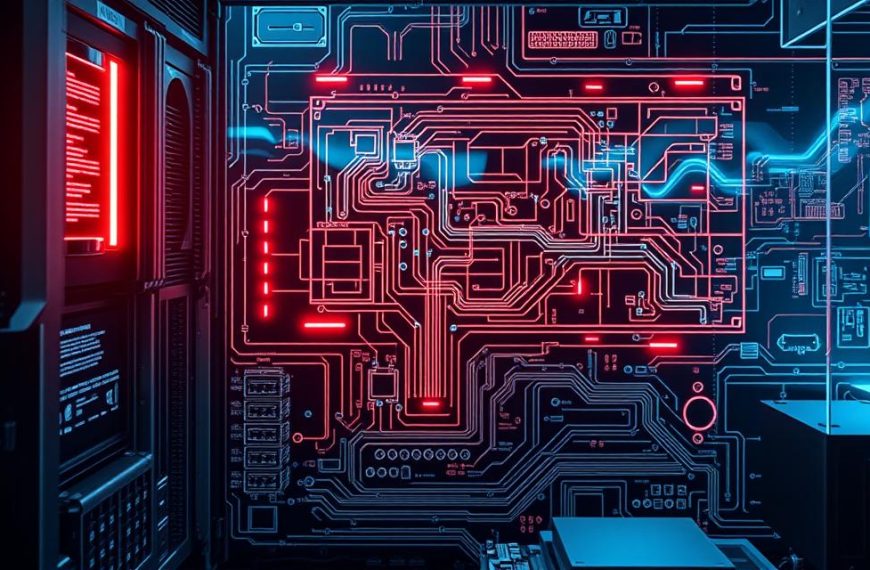
BIOS Security Functions: Protecting System Integrity
The BIOS is more than just a boot loader. It’s your computer’s first shield against cyber threats. Modern BIOS security features are key barriers that guard your system before the OS starts.

Password Protection and Access Control
BIOS-level passwords stop unwanted changes to settings or booting from external devices. This password protection has two main types:
- User password: Needed to start the system
- Administrator password: Required for changing BIOS settings
These controls make sure only approved people can change important settings or set boot priorities.
Secure Boot and Malware Prevention
Secure Boot checks if only trusted, digitally signed software starts up. It blocks rootkits and other malware that try to load before the OS.
Cylance showed how BIOS flaws can lead to ransomware attacks. Secure Boot is key in malware prevention by making sure only verified code boots.
Firmware Updates and Vulnerability Patches
Regular firmware updates fix security holes that hackers might use. Companies like Intel, AMI, and Phoenix Technologies release fixes to fight new threats.
For instance, Intel fixed a BIOS update to stop Plundervolt attacks. These attacks manipulate voltage. Keeping your BIOS up to date protects against such advanced cyber threats.
Many systems now have auto-update features. These make it easy to keep your firmware secure with the latest updates.
Conclusion
The BIOS is key to how computers start up. It connects hardware and software smoothly. This makes sure computers start up well and work reliably.
It does this by running a Power-On Self-Test, setting up hardware, and loading the operating system. Users can also change settings to improve performance and security.
The move from Legacy BIOS to UEFI is a big step forward. UEFI lets computers use bigger storage, is easier to use, and adds strong security. This includes Secure Boot to keep malware out.
Even with new tech, the BIOS is essential for linking hardware and software. It also keeps systems safe. Knowing how it works helps users get the most from their computers.
FAQ
What is BIOS and what is its primary role in a computer system?
BIOS stands for Basic Input/Output System. It’s the first software that runs when you turn on your computer. It makes sure everything works right before your operating system starts.
What are the core functions of BIOS in a computer system?
BIOS does a few key things. It runs tests on your hardware during startup. It also loads your operating system and drivers. Plus, it lets you change settings through the BIOS Setup Utility.
How does the BIOS boot process work from power-on to OS load?
The BIOS boot process starts with tests on your hardware. If there are problems, you might hear beep codes. Then, BIOS sets up your hardware and picks a device to boot from. It loads the bootstrap loader, which starts your operating system.
What key settings can I configure in the BIOS Setup Utility?
In the BIOS Setup Utility, you can set your system time and date. You can also choose what device to boot from first. You can enable security features like passwords and Secure Boot. And, you can tweak settings for performance or power.
How does BIOS contribute to system security?
A> BIOS helps keep your system safe. It has features like password protection and Secure Boot. These stop untrusted software from running. It also gets updates to fix security holes.
What is the difference between Legacy BIOS and UEFI?
Legacy BIOS is old and has limits. UEFI is newer and better. UEFI is faster, supports bigger drives, and has better security. It also has a nicer interface.
Why is updating BIOS firmware important?
Updating BIOS is key for security and performance. It fixes bugs and adds new features. This keeps your system running smoothly and safely.
How does POST help in identifying hardware issues?
POST checks your hardware during startup. If it finds a problem, it signals it with beep codes. This helps you find and fix issues before your system starts up.
Can I change the boot order in BIOS, and why would I need to?
Yes, you can change the boot order in BIOS. This is useful for installing new operating systems or running tools from USB drives. It helps with troubleshooting too.
What is Secure Boot and how does it protect my system?
Secure Boot is a UEFI feature. It makes sure only trusted software can run at startup. This stops malware and keeps your system safe from attacks.
 By
By